I’ve been taking photographs, editing them on my laptop and posting them to several websites for a while now, and I’ve noticed that there are variations in the appearance of an image, mostly richness, sharpness and grains, among some common methods of viewing. These may be different image viewers on your computer, setting the image as your wallpaper, or different websites where you post the image. The differences may be subtle (if they were not, it would be a really big deal that wouldn’t persist till now), but to photographers, graphic designers and in general to people whose work or passion is to deal with images, I deem these are still big differences that may often cause problems. I do not know what causes these differences, but only wish to demonstrate them so that in case such subtle differences matter to you as they do to me, you will not waste frustrated hours trying to track down the problem to where it does not lie, such as your photography, editing or design.
So here’s a series of screenshots of the same photograph that I’ve taken, across various viewing methods, showing the variation. I have ordered them so that similar-looking appearances are clumped together. Within brackets are my ratings for how well I think they reproduced the image.
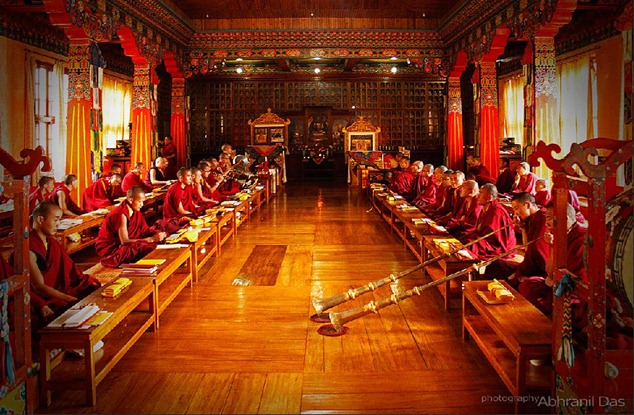
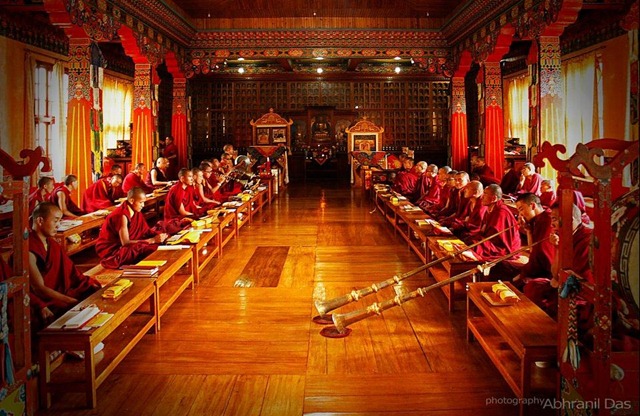
1. Photoshop (10/10)
In my experience, the best reproduction. Colours are rich and the image appears sharp and without any additional noise.
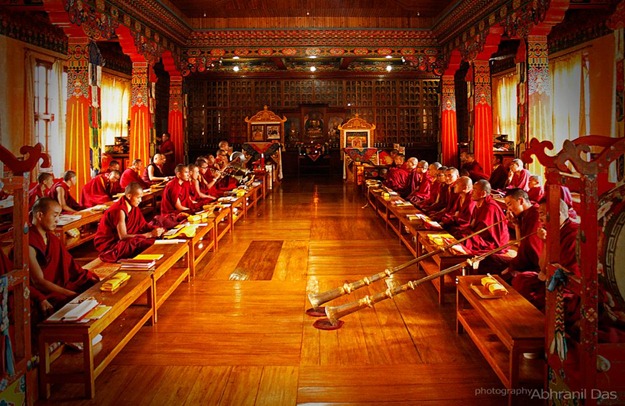
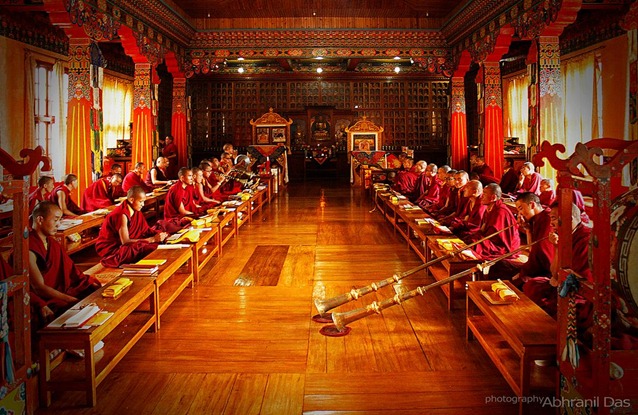
6. Windows Photo Viewer (10/10)
This is the default image viewer in Windows 7 that I use. Pretty much the same as PS. No complaints.
2. Windows Explorer Preview (9/10)
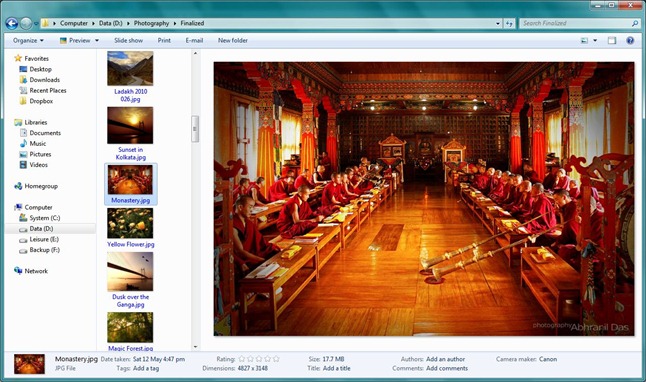
By that, I mean the large image preview that you get in Explorer in Win 7. Here’s a screenshot to explain what I mean:
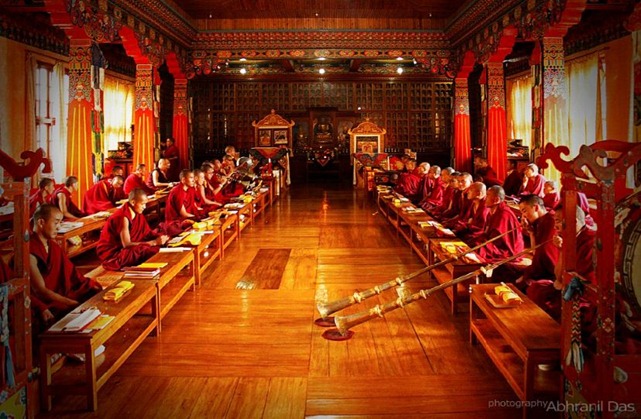
The image itself looked like this:
Notice immediately that the image is slightly duller and not as sharp as PS or Windows Photo Viewer. In its defence though, this is not even an image viewer we are talking about, and to me this is good enough for a quick preview.
2. Facebook (9/10)
This is more or less similar, perhaps a tad duller.
3. Flickr (9/10)
Almost the same as Flickr. The sharpness is returning though.
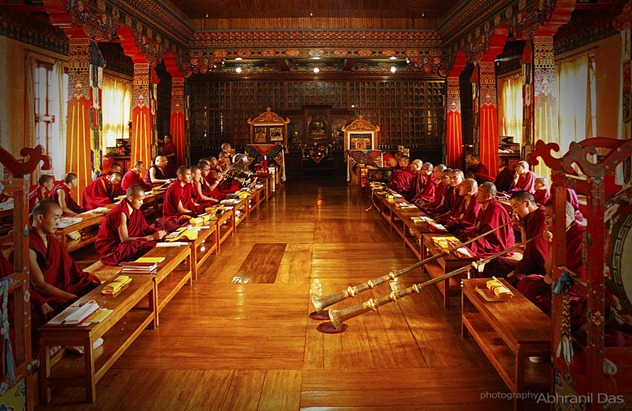
5.Picasa (6/10)
Disappointingly dull. I used to get pretty frustrated when after working long in PS on a photo to get the richness and clarity I like, I would save the image and see this kind of output in Picasa, my default image viewer. Then I realized that it is a fundamental difference between their respective image reproducibility that I can do nothing about, and shouldn’t worry about. No real richness has been lost. However, this being a dedicated image viewer that many people install and use over the default viewers, it is unpardonable on part of the developers at Google.
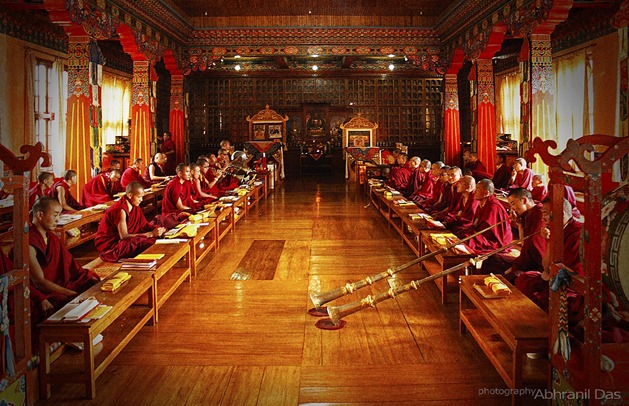
6. Windows Desktop Wallpaper (5/10)
This one’s a disaster. Not only is it even duller than Picasa, the moment you set any image with the slightest of rich colour as your desktop background, there suddenly arises a lot of grain. At this size on this blog it is perhaps not visible, but you can click the image to view the full size and compare with the others, when the grain will be clearly discernible.
I have often happily set my photographs as the desktop background, only to disappointedly revert because of the grain. The default Windows wallpapers are rigged somehow so that they appear smooth. I think they had absolutely no grain to begin with. But if an image has the slightest grain, it is greatly amplified upon setting as the desktop background.

Abhra, it also depends on the color gamut and proper calibration of your monitor. Most monitors and webpages use sRGB color gamut. If you view pictures shot in Adobe RGB gamut in sRGB monitor, out-of-gamut colors are clipped or approximated
LikeLike
Hmm, I had heard of colour gamut but didn’t know this. This image was in Adobe RGB. I have to read up a bit about colour space now.
The monitor can affect the appearance then, as you say, although in the same monitor, desktop viewers and webpages shouldn’t vary amongst themselves as they are displaying the same image.
LikeLike
There’s a catch in that too. If a picture is shot in Adobe RGB, then when you load in PS, PS automatically switches to Adobe RGB gamut. As Picasa is primarily targeted for pictures to be used in web, it adheres to sRGB and doesn’t support Adobe RGB. And, since most monitors use sRGB color profile, your Desktop Background will also clip the non-gamut colors. Do one thing. Change the monitor rendering settings to Adobe RGB or ProPhoto RGB. I hope it’ll improve the quality of your Desktop Background.
LikeLike
That’s a lot of interesting info, thanks. If I have to pretend any more that I am into editing and design, I’ll have to read all of this up 🙂
LikeLike
To satisfy my curiosity, when you set the picture as you windows desktop wallpaper, did u match the resolution to ur display, in photoshop for example? Because I know if you image resolution is bigger than you native screen resolution, it does show some graining.
Did you you know that even different monitors will render the images differently? Bright colourful images on my dedicated 23″ LCD screen look noticeable dull on my laptop screen.
LikeLike
The image was indeed bigger than my display resolution.
Now that you mention it, it seems it may be because of some resizing algorithm such as bicubic sharper that may make the images grainier as a result.
And yes; I have also noticed that different monitors reproduce images very differently from each other, so that at one point as a photographer and editor I had an identity crisis of ‘what is the true image? Is there a true image? If not, what are we striving for?’ etc.
LikeLike
“what is the true image?” For that, you’ll need a monitor with a wide gamut like ProPhoto RGB and have to calibrate your monitor. Calibration is pivotal for correct rendition of colours. Then, it’ll display the image true to what was captured. As for an image true to what you actually saw, it’s a different story altogether,
LikeLike
Yup, ‘true to what I saw’ was deliberately fucked the moment I opened Photoshop 😉
LikeLike
No camera is capable of capturing something that’s “true to what you see”. The best way is to shoot in RAW and play with the white balance, contrast, NR and the other sliders till you get something that’s appealing to the eye. There’s a saying: “The best photo doesn’t capture the reality; it captures how we want to remember the moment.” Actually it’s not a saying. I just made that up. 😛
LikeLike
That’s a very nice quote though. I’ll use that.
LikeLike
And forget Photoshop. Shoot in Raw and use Lightroom or DXO Optics Pro. Photoshop is a mere editing software. LR and DXOOP are devloping and post-processing softwares.
LikeLike
I don’t know about this DXO Optics Pro, but I’ve used Lightroom, and it is just a very scaled-down, convenient (read dumbed-down) one-click version of the power that Photoshop provides. The things I usually use Photoshop for cannot be provided by Lightroom.
LikeLike
Dear Abhra,
I love photography though cannot profess to be technically qualified. I found your post educative and propose to use Windows photo viewer more often.
Thanks
Shakti
LikeLike
Hello Mr. Ghosal.
Thanks for dropping by and leaving a comment. Great to know that the post has been of use.
Your posts are also pretty enjoyable. Keep visiting!
LikeLike